How to Start a CPR Training Business: A Step-by-Step Guide for New Instructors
November 9, 2026 · Written by CPR Class Listing
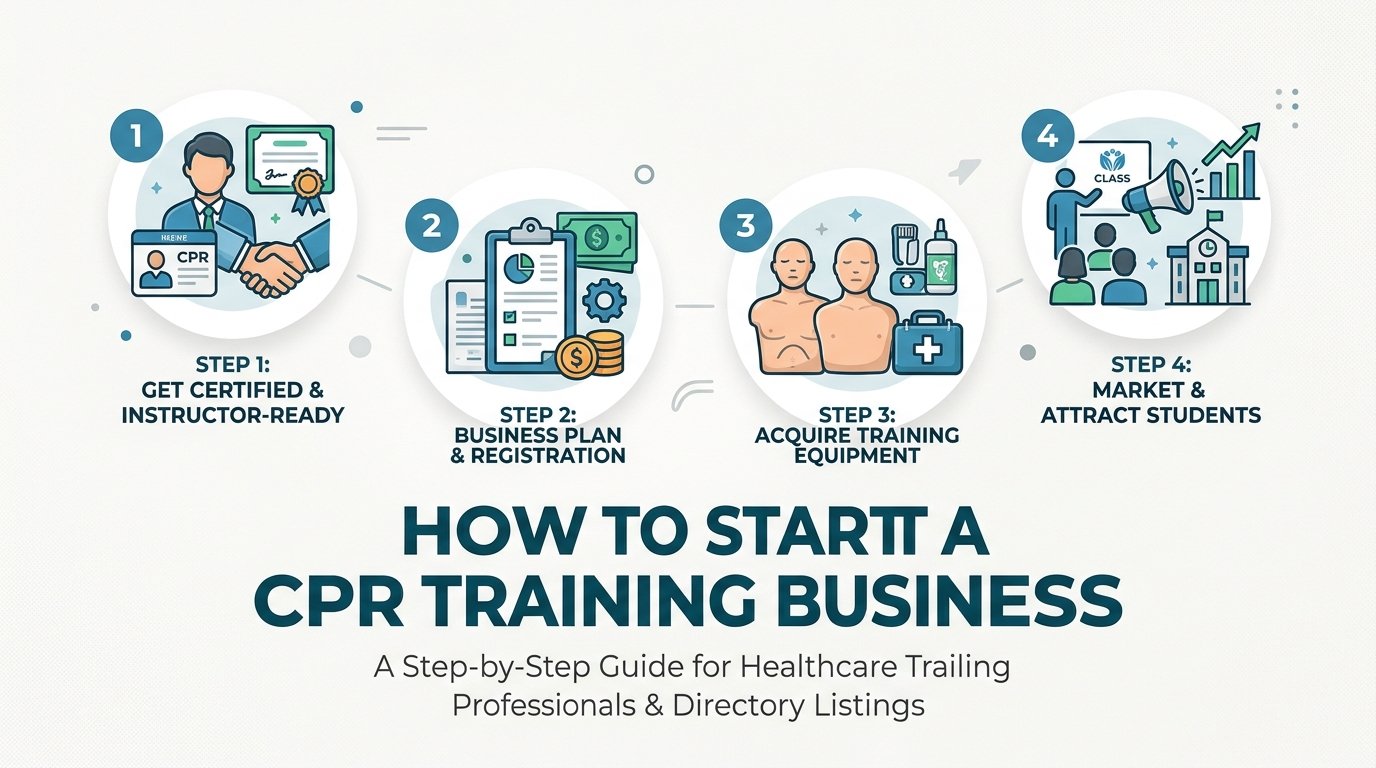
A practical guide to how to start a cpr training business.
Starting a CPR training business takes four things: instructor credentials from a certifying agency, a legal setup, equipment, and a steady flow of students. This guide covers them in order, from picking an agency to filling your first classes. Before you begin, be honest about whether you want to teach hands-on skills in front of a room, since that's the core of the job. Also check your state and local rules for training providers and business licensing. Requirements vary by agency, state, and employer, so confirm the details directly instead of relying on a general guide.
Step 1: Choose Your Certifying Agency and Course Lineup
Your agency decides which cards you can issue, what materials you buy, and which employers will accept your students' certificates. The three main options are the American Heart Association (AHA), the American Red Cross, and the Health & Safety Institute (HSI). Each is widely recognized, and none is the right pick for everyone. Compare them on three points:
- Instructor requirements: prerequisites, course length, and whether you must affiliate with a training center.
- Materials costs: instructor manuals, student manuals, and card fees, which differ by agency and change over time.
- Customer demand: which agency your target customers ask for by name.
That last point matters most. Many hospitals and clinics specify an agency for Basic Life Support (BLS). Some schools, child care licensing offices, and employers do too. Call a few local employers or check job postings before you commit, and look at whether HSI certification is accepted by the employers in your area.
Match courses to a customer group
Pick one or two groups to serve first:
- Workplaces: First Aid | CPR AED, often taught on site for groups.
- Healthcare workers and students: BLS, which is the provider-level course.
- Child care providers: Pediatric First Aid | CPR AED.
- Teens and new sitters: Babysitting courses.
Decide early about advanced courses
Advanced Cardiovascular Life Support (ACLS) and Pediatric Advanced Life Support (PALS) usually have stricter instructor prerequisites than CPR or BLS, often including a clinical background and current provider status. Verify the current requirements with each agency before you plan around them. Many new instructors start with CPR, First Aid, and BLS, then add advanced courses later if they qualify.
Step 2: Get Your Instructor Certification
The typical path, as of this writing, has three parts. You hold a current provider card for the course you want to teach. You complete an instructor course, which is often blended: an online portion followed by an in-person session. Then you're monitored while teaching your first class. Exact steps, fees, and timelines differ by agency and can change, so confirm them directly before you register for anything.
Training center or your own center?
Most agencies don't let instructors work alone. You either affiliate with an authorized training center or become one. The difference is real:
- Joining a center: The center handles agency paperwork, card issuing, and often insurance and quality oversight. You teach, and the center usually takes a fee or share. It's the simpler start.
- Running your own center: You hold the agency agreement, order materials and cards, and take on the administrative and compliance duties. You keep more control and more of the revenue, but you carry more responsibility.
Many new instructors begin under an existing center to learn the system, then decide later whether to open their own.
Renewal and recognition
Instructor cards are commonly valid for about two years, then need renewal. Rules differ by agency, so note your expiration date as soon as you're certified, and set a reminder well ahead of it. Some agencies also expect you to teach a minimum number of classes or complete updates to stay active.
Mistake to avoid: Don't assume any online instructor course will be recognized. Search results are full of programs that look official. Before you pay, confirm that your chosen agency authorizes the course. A certificate from an unaffiliated company usually won't let you issue agency-recognized student cards, and your students may find their cards rejected by employers. The same caution applies to students, as explained in this look at whether online CPR certification is accepted by employers.
Step 3: Set Up Your Business Legally
Start with structure. A sole proprietorship is the simplest, but it doesn't separate your personal assets from the business. A limited liability company (LLC) can add that separation and costs a filing fee in most states. Which one fits depends on your state, your taxes, and your risk, so talk with an accountant or attorney before you decide. Then register your business name. If you operate under a name other than your own, many places require a "doing business as" filing.
Next, handle the basics:
- Apply for an Employer Identification Number (EIN) from the IRS. It's free through the IRS website, and you'll want it for your bank and tax records.
- Check whether your city or county requires a business license or permit. Home-based businesses sometimes have extra rules.
- Open a separate business bank account so class income and expenses stay clean at tax time.
Insurance
Look into general liability insurance, which covers things like a student tripping over a manikin, and professional liability insurance, which covers claims tied to your instruction. Some agencies and training centers set their own insurance requirements, and some provide coverage or require proof of it. Ask before you buy a policy so you don't pay for something that doesn't meet their rules. If you rent space, the venue may also want a certificate of insurance.
State and industry rules
Some states and licensed fields only accept training from approved providers or specific course types. Examples might include certain health care roles, child care licensing, or other regulated occupations. These rules vary widely and change, so don't guess. Contact your state licensing board or the relevant agency, and ask your target customers what they require. For workplace customers, it also helps to understand OSHA first aid and CPR requirements for employers, since that's often what drives their purchasing decisions.
Step 4: Buy Equipment and Course Materials
Your gear list depends on the courses you teach, but the core set looks like this:
- Adult, child, and infant manikins. Models with feedback on compression depth and rate are worth the extra cost if your budget allows, since they help students correct themselves.
- AED trainer units, which simulate a defibrillator without delivering a shock.
- Barrier devices, such as face shields or pocket masks, for practice.
- Cleaning supplies for manikins and surfaces.
- First aid supplies for First Aid courses, such as bandages, gauze, splints, and gloves.
Student materials and card fees
Students typically need a manual, either printed or digital, plus skills sheets for you to complete during testing. The agency also charges for each certification card or eCard. These prices differ by agency and change, so check current pricing as of the time you order, and build the costs into your class price (see Step 5). Don't rely on figures you saw in a forum post or an older article.
Start small
Your agency publishes guidance on how many students can share one manikin during practice. Buy enough to meet that ratio for the class size you realistically expect, not the one you hope to reach. A small group of six to eight students needs far less gear than a corporate class of twenty. Add manikins as demand grows.
Plan for wear and cleaning
Manikins need cleaning between students, and many use replaceable face pieces or lung bags that you'll need to restock. Follow the manufacturer's cleaning instructions so you don't damage the surfaces. Budget a little for replacement parts and extra supplies, because they'll run out sooner than you expect.
Step 5: Set Your Prices and Class Format
Begin by looking at what local providers charge. Most CPR and first aid classes run about $45 to $110, while BLS, ACLS, and PALS cost more. Browsing your area on a directory like CPR Class Listing shows you real dates, prices, formats, and agencies side by side. Treat that range as a guide, not a target. Your market might sit higher or lower.
Work out your cost per student
Add up what each class costs you to run:
- Student manual and card fee
- Your time, including prep and paperwork
- Travel to the venue or employer
- Space rental
- Insurance and agency or center fees
- Wear on supplies and equipment
Divide fixed costs, like room rental and your time, by the number of students, then add the per-student costs. That tells you the minimum class size needed to break even. For example, imagine a room costs $100 and your time is worth $150. Those fixed costs total $250. With four students, that's about $62 each before materials and card fees. With eight students, it's about $31 each. Your minimum class size will follow from the numbers, so run them with your own costs.
Choose a format
- Fully in-person: everything is taught and tested in one session.
- Blended: students finish an online portion first, then attend a shorter hands-on skills session with you.
- On site at employers: you bring the class to a workplace, which can fill many seats at once.
Online-only courses often aren't accepted where employers or licensing boards require a hands-on skills check. If you offer blended classes, make sure students know the in-person session is required, and consider explaining how a blended CPR course works on your booking page.
Group rates and cancellations
Decide on a group rate for workplaces, and write down a cancellation and reschedule policy before your first booking. A clear policy saves awkward conversations later.
Step 6: Find a Space and Build Your Class Schedule
You have several space options. Rented meeting rooms in libraries, hotels, or coworking spaces work well and need no long commitment. Community centers and churches are often cheaper. Your own studio gives you control but adds rent. And traveling to employer sites means you need little more than portable gear and a car.
Whatever you choose, check that the room has:
- Open floor space for students to kneel next to manikins
- Seating and tables for the video or lecture portion and for paperwork
- Restroom access
- Reliable power for a laptop, projector, or monitor
Build a repeating schedule
Customers plan around predictable times. Pick a pattern, such as set weekday evenings and weekend mornings, and stick with it. Put a few classes on the calendar before you start promoting, so anyone who's interested can register right away instead of waiting.
Plan the logistics
Before each class, prepare a roster, printed skills sheets, and the materials students need. After class, issue cards within the time your agency requires, and let students know how they'll receive their certificate, whether by email or another method. Missing a card deadline is the kind of small error that costs you trust with employers, so build the task into your routine.
Step 7: List Your Classes and Get Your First Students
List each class on CPR Class Listing with the date, price, format, and certifying agency. Students compare options there, then register directly with you. The directory doesn't take bookings or process payments, so you'll need your own registration and payment method, such as a simple booking page or an online form with a payment link.
Build your basic online presence
- Create a simple website or booking page with your class dates, prices, location, agency, and a clear way to register.
- Set up a Google Business Profile so you show up in local searches and on maps. You can also set your business hours on your listing so students know when to reach you.
- Ask students for reviews after class, while the experience is fresh.
Reach out to groups
On-site group classes can fill a schedule faster than individual signups. Contact local employers, schools, child care centers, gyms, and clinics. Ask who handles safety training, and offer to teach at their location. Some may already have a required agency, so know which courses you can offer before you call. Workplace buyers often ask about first aid, CPR, and AED certification for the workplace, and groups like churches may want CPR training for church safety teams.
Track results and adjust
Note how each student found you. After a few weeks, you'll see which channels fill seats and which don't. Put your time into what works.
One mistake to avoid: don't discount heavily before you know your costs. Low prices are hard to raise later, and a half-full class at a deep discount can lose money. Work out your break-even point first (see Step 5), then adjust prices with real numbers.
What to Do After Your First Classes Run
Once a few classes are behind you, review three things: your actual costs compared to your estimates, student feedback, and the renewal dates for your instructor card and your students' cards. Students' certifications are typically valid for two years, so you'll have a built-in group to remind when their renewals approach. From there, add dates or new courses as demand grows. If you want to teach BLS or advanced courses, check the agency's current prerequisites before you plan.
Remember that in an emergency, anyone should call 911 first. Your classes teach skills, but they don't replace emergency services.
Looking for a CPR, BLS or first aid class near you? Search upcoming classes on CPR Class Listing to compare dates, prices and certifying agencies from local training providers, then register directly with the provider in minutes.
- Uncategorized
- how to start a cpr training business
Written and reviewed by the CPR Class Listing editorial team against the listings in the directory. How we verify providers.
Ready to get certified?
Search upcoming CPR, BLS and first aid classes near you and register directly with a local provider.
Find a class near you